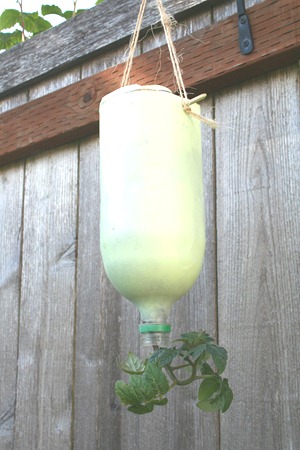
2-liter bottle upside down tomato planter

Though my first attempt at an upside down tomato planter worked out great, I have a habit of forgetting to water the plants everyday. More commonly when we have decent rains when only the hanging tomato planters need to be watered. So this year I have modified my design a little to make this a little easier. As a bonus you can create this new version much quicker and minimal tools.
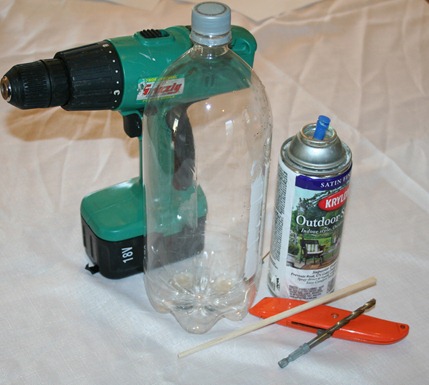
Materials required
- Empty 2-liter bottle
- Spray paint
- Drill or hot nail
- Chopstick or 1/4 in stick
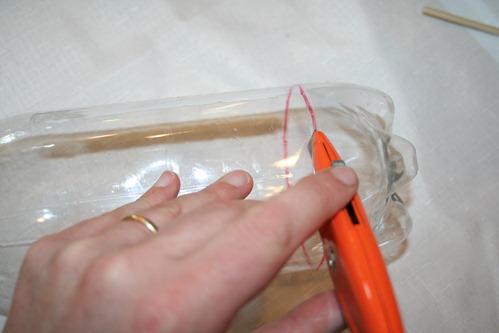
Step 1 – Cut off bottom
There is a natural ridge at the bottom of the two liter bottle, simply cut at this ridge and remove the bottom.
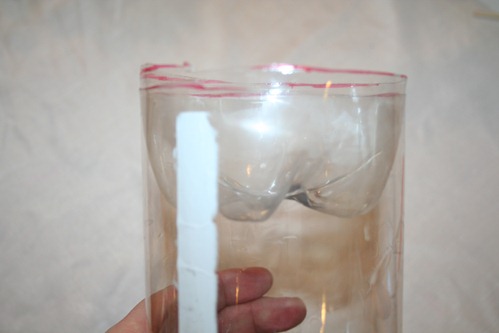
Step 2 – Attach water reservoir
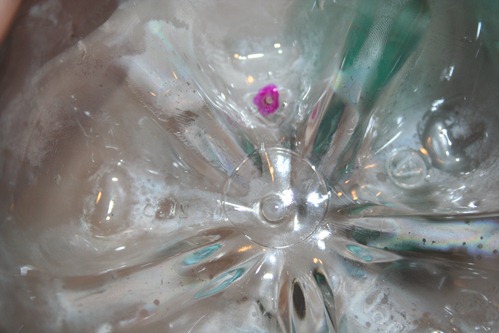
Take the removed bottom, flip it over, and insert it into the bottom of the bottle until flush with the top.
Step 3 – Drills Holes
First you need to drill a small hole in the bottom of the reservoir (the bottom you cut of) Use the smallest drill bit you have, this will reduce the water flow coming into the planter during rainfall and/or manual watering. With this reduced flow there should be much less soil loss during watering.
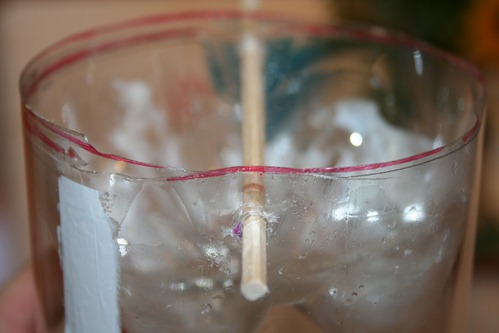
Second you need to drill two holes about 1/4 inch from the edge with a 1/4 inch drill bit. It is a little difficult to get enough pressure against the plastic to make this hole without causing the plastic to collapse. To take care of this place a small piece of wood on the floor and drill the holes from the inside.
Step 4 – Paint planter
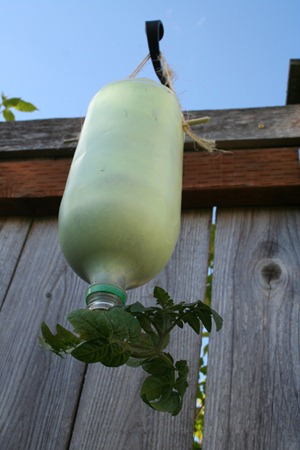
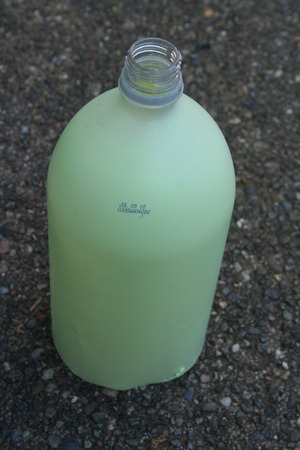
You want to protect the roots from being exposed to direct sunlight so you need to cover the outside. This can be done with contact paper, duct tape (as I have done in the past) or for a fast cleaner look just quickly add a quick coat of spray paint to the outside. It is probably best to use paint that is made to adheres well to plastic, though in my case I had some nice multipurpose light green paint leftover from another project that with a few hard rains appears to be holding up well.
Step 5 – Secure with stick (chopstick) and fill with soil
Now add your plant (tomatoes and peppers are my favorites) to the bottom (previously the top) of the planter by carefully pushing the roots through the hole or alternatively you can the plant out from the inside. If your plant is too large to do this safely you may also cut a larger opening in the bottom, but I would recommend wrapping a sponge or coffee filter around the plant to assist in keeping the dirt in the planter.
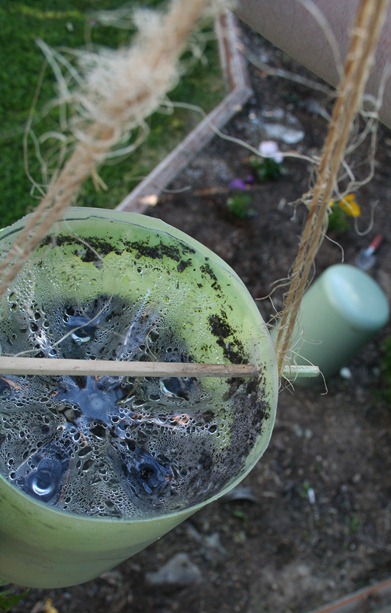
Fill your planter with a mixture of 1 part perlite to 2 parts (potting mix, peat moss, coconut coir) with the top 1/2 inch being only (potting mix, peat moss, coconut coir) After a couple of waterings, this 1/2 inch layer will compact and restrict the water flow for a slower and more distributed watering.
Use the thinner end of your chopsticks to thread it through both holes and both sets of plastic, attach a piece of twine attached to bother ends, and hang wherever the plants can get some good full sunshine and you should have plenty of early tomatoes this summer.

Patty this is BRILLIANT, and I must copy it,,, in all sense of the word.
ReplyDeleteTHanks so much for sharing, I've seen this done with milk jugs, which I also thought was cool, but yours my dear has a water reservoir, which makes it a million times better....
Please link this up to my party---- Bella Before and After , and be my follower,,,, I'd love to have you.
I am happily following you now too,,, you are awesome,,, !!!
Hugs,
Bella :)
BTW, I'm featuring you on my facebook page,,, just so ya know.
ReplyDeleteI'm in LOVE with your blog, can't wait to read it all,,, :)
Bella :)
Hi Bella, thank you so much for the compliment and for Following my blog. I'm starting to feel a bit better so I hope to be posting again soon. I visited your blog (love it) and Followed it as well. Thank you so much for featuring my blog on your Facebook account.
ReplyDeleteThank you again
Patty
Is the "2 parts" part of the soil mixture an even combination of potting mix, peat moss and coconut coir or just one of any of those three things?
ReplyDeleteMAY I TAKE YOU IDEA TO DECORATE MY GARDEN..
ReplyDelete